Setting up your Bitcoin Name System (BNS) / .btc domain name to receive Bitcoin is easy.
In this guide, we’ll show you how.
Currently, Hiro Wallet is the only wallet that supports Bitcoin payments to BNS names. However, the feature is also on Xverse Wallet’s roadmap.
Note: Hiro Wallet has rebranded to Leather. This tutorial will still work the same.
Step 1: Go to btc.us and sign in with your wallet
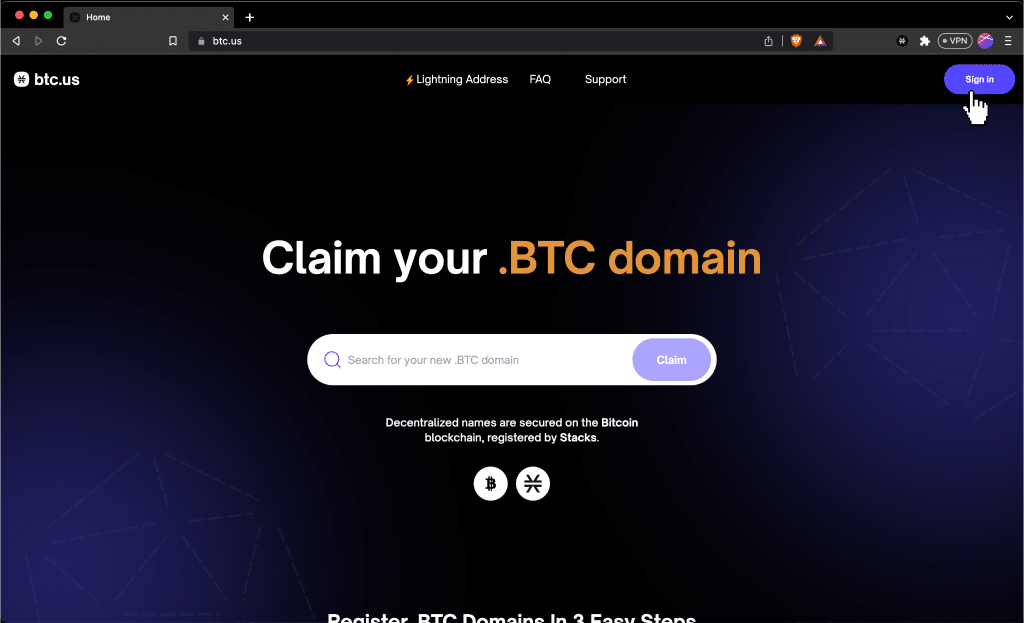
Make sure you sign in with the name you want to receive Bitcoin with. You can use Hiro Wallet or Xverse Wallet to do this.
Then go to btc.us/manage.
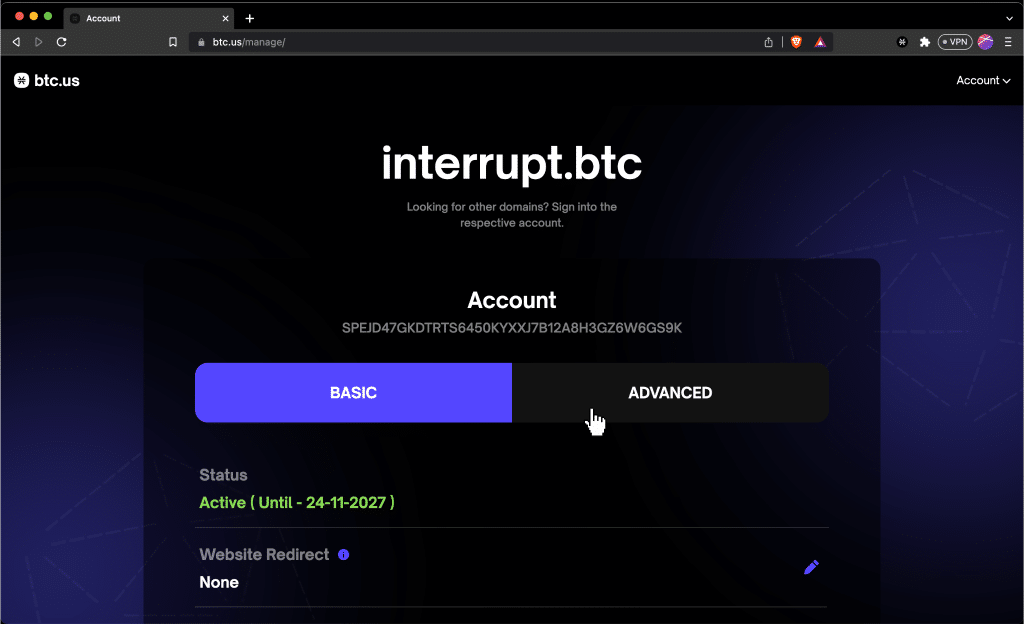
Step 2: Add TXT record with Bitcoin Address
Scroll down, and click “TXT” -> “Add Record.”
Now scroll down again and click the the little pencil icon to edit the new record.
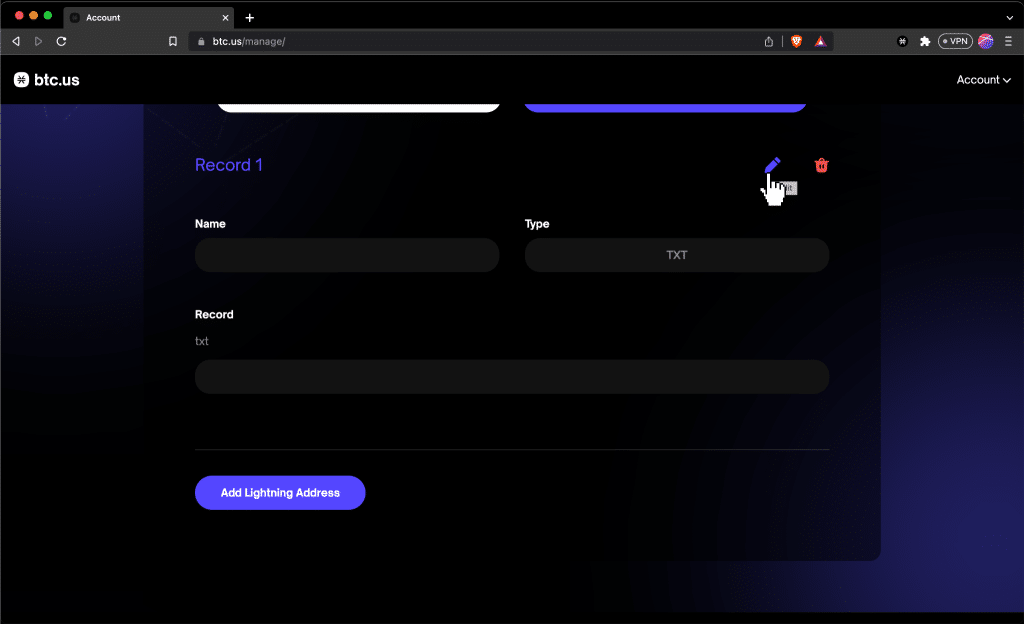
In the Name field, enter: _btc._addr
In the txt field, enter whichever Bitcoin address you want to be linked to this name. We will simply copy the Bitcoin address from our Hiro Wallet, but you can use whatever Bitcoin address you want.
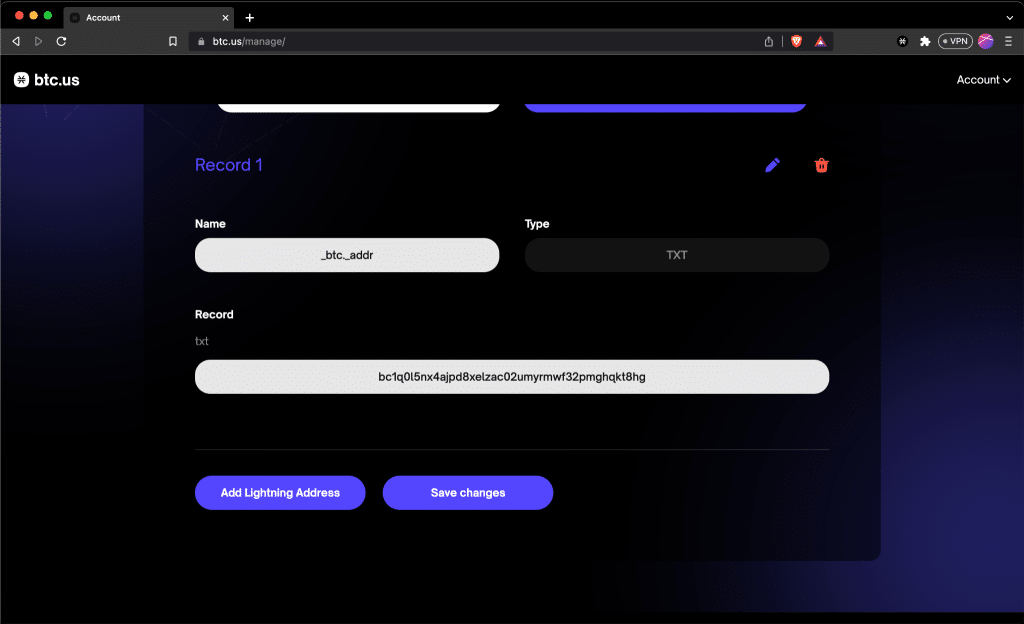
Then click “Save changes.”
Step 3: Confirm transaction
Now, you should get a wallet popup to confirm the name-update transaction.
Scroll down and click “Confirm.” For us, the fee wasn’t too bad–about 0.07 STX, or $0.07 USD at the time of writing.
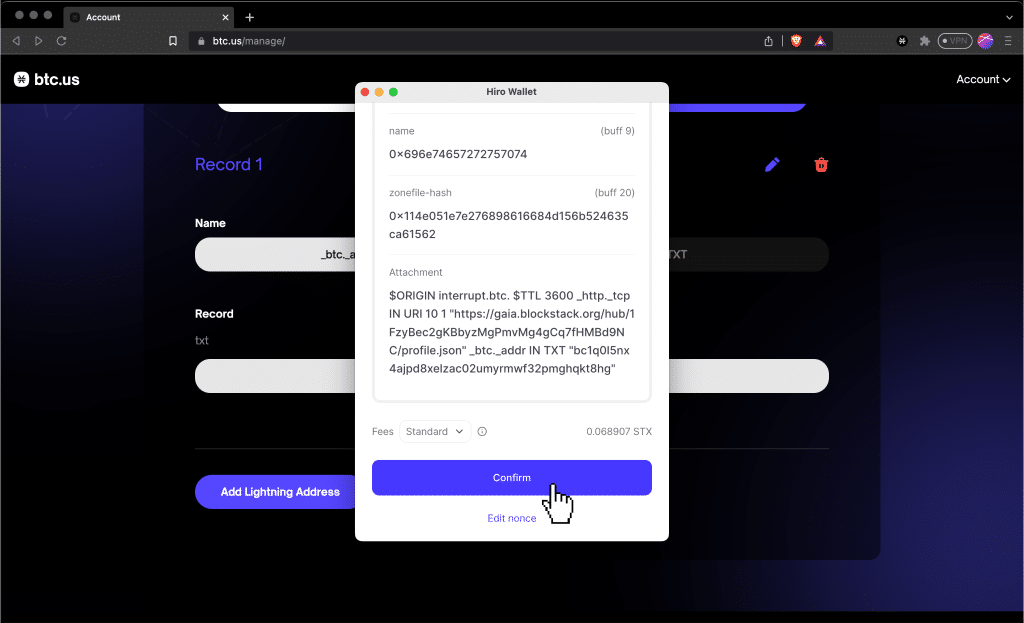
Now all you have to do is wait!
The transaction will typically go through in 10 minutes or less, but it may take longer depending on when the next Bitcoin block is mined and how congested the Stacks Network is.
To monitor the progress, you can open your wallet and click the name-update transaction that you just confirmed.
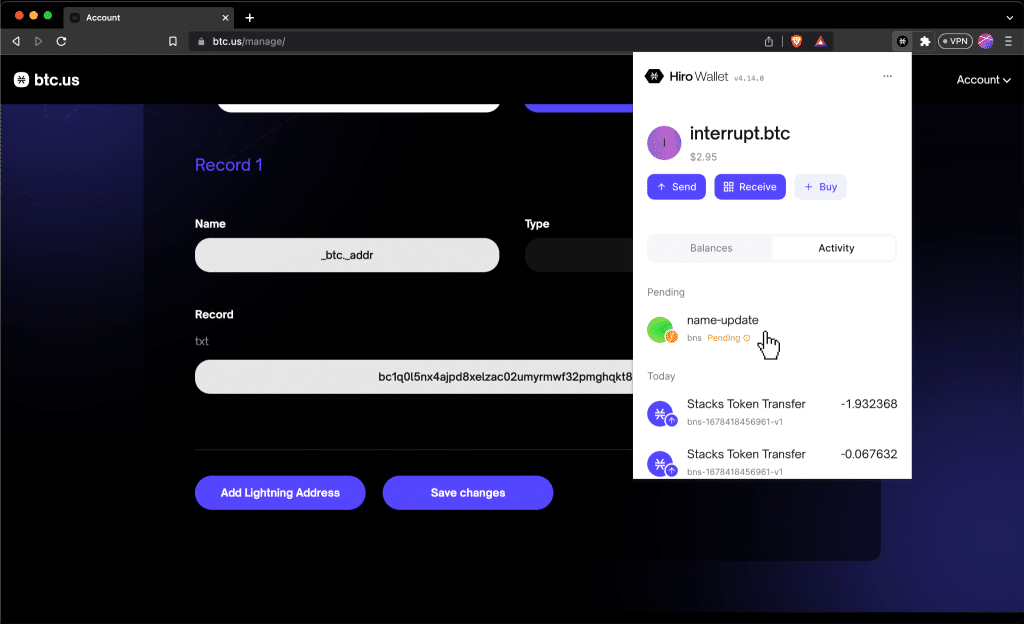
That will take you to the block explorer.
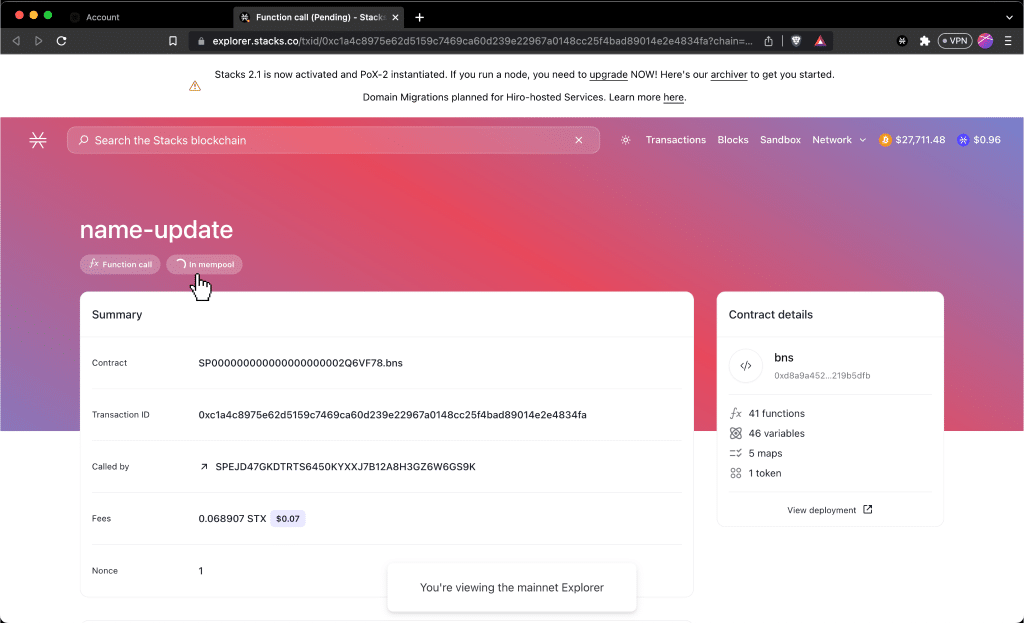
As soon as the transaction status changes from “in mempool” or “pending” to “confirmed,” you will now be able to receive Bitcoin with your BNS / .btc domain name!
Step 4: Test Sending Bitcoin
To test that your BNS / .btc domain name correctly resolves to your Bitcoin address, open Hiro Wallet and click “Send” -> “Bitcoin.”
Now enter the BNS / .btc domain name you wish to send Bitcoin to.
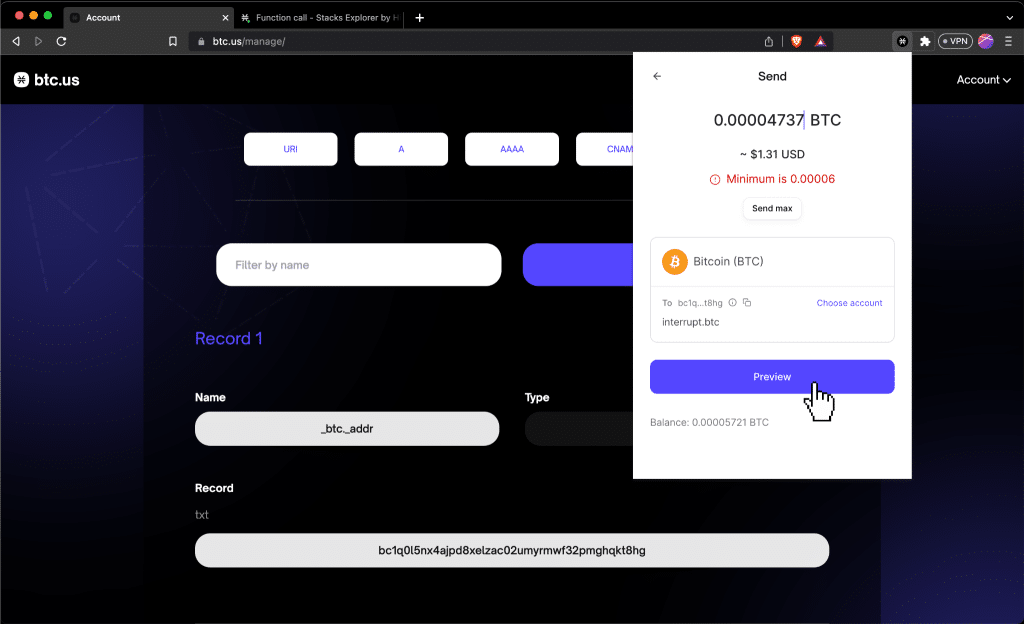
If your Bitcoin address automatically fills in, congratulations!
You can now receive Bitcoin with your BNS / .btc domain name from anyone who uses Hiro Wallet.
Update: Since Hiro Wallet rebranded to Leather, the interface has changed a bit. You now have to select “BNS Name” from a dropdown when sending.

Conclusion
In this post, we showed you how to set up your BNS / .btc domain name to receive Bitcoin from Hiro Wallet users.
As always, if you have any questions, feel free to DM us on Twitter.

